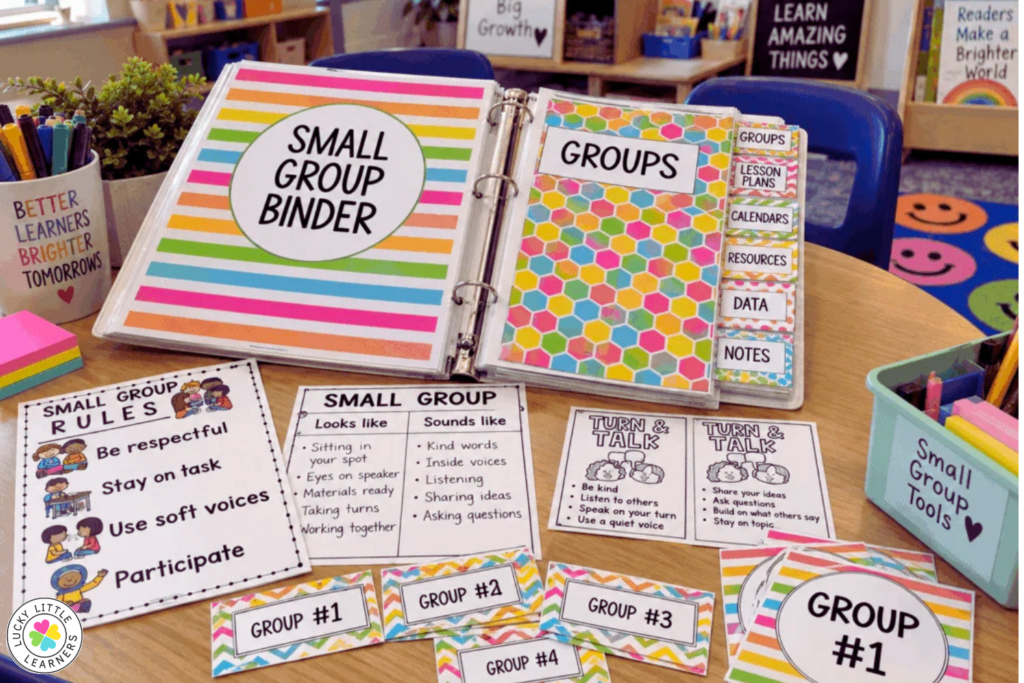
Planning and organizing small group reading can be a challenge! Lucky for you, team Lucky Little Learners has all your reading small group needs covered with the Small Group & Intervention Literacy Kit! This post will walk you through the steps of setting up and using your small group reading binder.
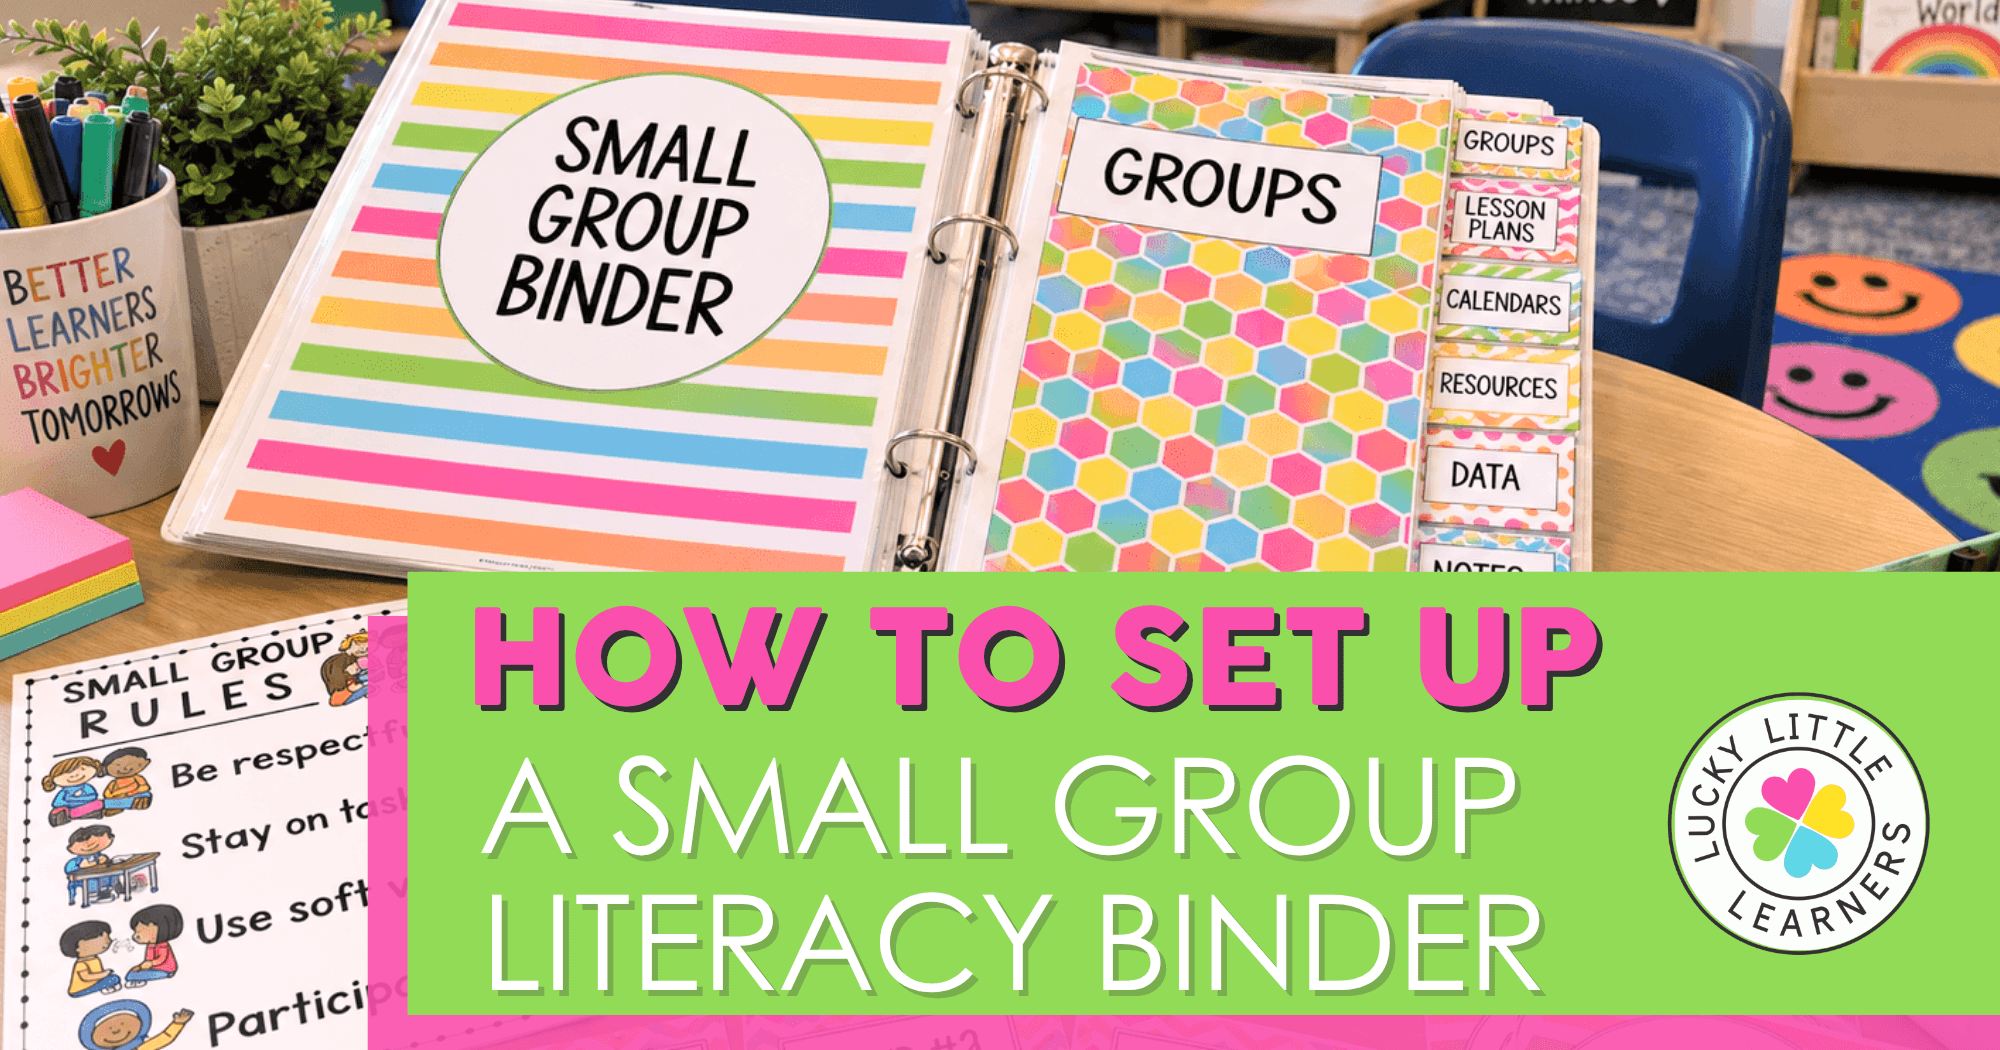
Wait, what is the Small Group & Intervention Literacy Kit?

All Access member? Download here.
How to Set Up Your Small Group Reading Binder
A small group reading binder keeps everything you need for planning, teaching, and tracking student progress in one easy-to-grab place.
Start with a binder, add your cover and dividers, and organize it into these five sections:
Let’s take a closer look at what to include in each section and how to set it up.
Section 1: Data
Your Data section should come first because student data helps you decide what to teach during small groups.
The Small Group & Intervention Literacy Kit includes assessments for phonemic awareness and phonics, along with a Student Data Booklet, to help pinpoint the skills students have mastered and where they may need additional support.
Download the literacy assessment and data resources here.
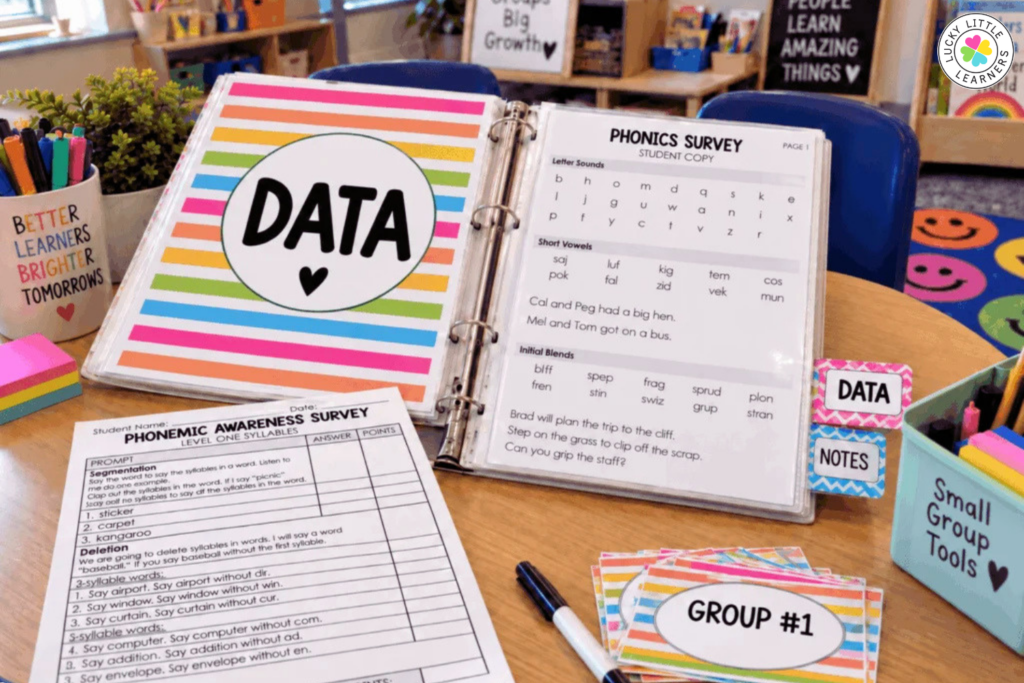
How should I set up the Data section?
Keep one clean, original copy of each assessment in this section. Then add copies that are ready to use with students.
You may also want to organize assessments by skill or level so you can quickly grab the one you need.
Binder Tip: Place your original assessments in page protectors. Keep a few extra copies of commonly used assessments behind each original so you are always ready when you need to quickly check a student’s progress.
What else can I keep in this section?
This is also a great place to keep:
✅ Student data booklets
✅ Completed assessments
✅ Progress-monitoring data
✅ Skill mastery records
✅ Skill progression checklists
Having your data and skill progressions together makes it easier to see what students have mastered and determine what should come next.
Download the skill progression checklists here.
Binder Tip: Keep a copy of the skill progression for the skills you teach most often and check off skills as students demonstrate mastery.
Section 2: Calendar
The Calendar section gives you a big-picture view of your small group instruction.
Use it to map out what you plan to teach by week or month. You might plan according to:
- Phonics skill or sound
- Reading skill
- Unit
- Theme
- Student needs
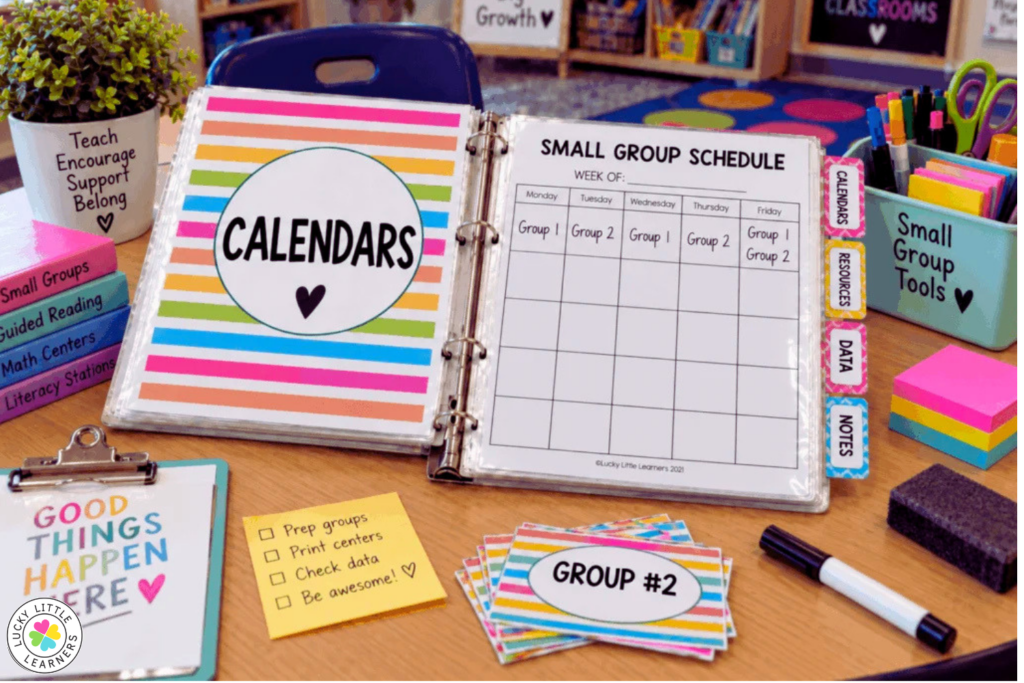
Download the small group planning pages here.
How should I set up the Calendar section?
Place your monthly or weekly planning calendars at the front of this section.
At the beginning of each month, pencil in the main skills or focus areas you expect to teach. Then adjust your plan as student data changes.
Binder Tip: Think of this section as your roadmap, not something set in stone. Small groups should be flexible, so your calendar can change based on what your students need.
Section 3: Lesson Plans
The Lesson Plans section is where your day-to-day small group instruction comes together.
The Literacy Kit includes several planning options, so you can choose the format that works best for your teaching style.
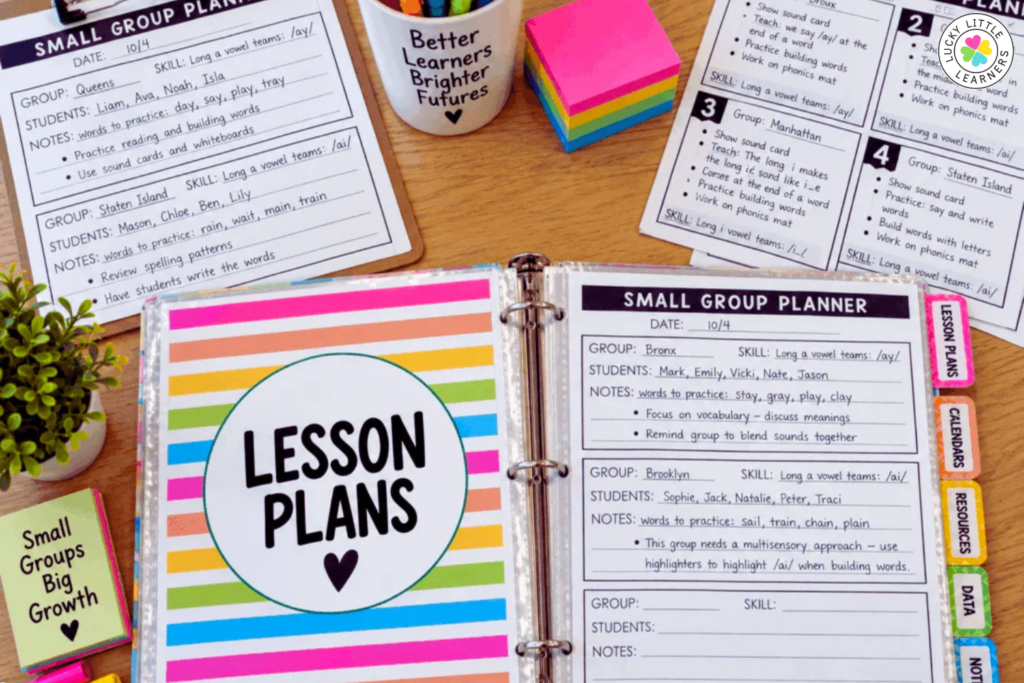
Download the small group lesson planning resources here.
Which lesson planning page should I use?
Here are three of our favorite options:
1. Guided Small Group Lesson Plan Templates
These templates walk you through a simple small group lesson structure:
→Set Up
→Teach
→Engage
→Practice
→Show What You Know
Add your weekly focus and fill in each part of the lesson.
View the Guided Small Group Lesson Plan Templates.
2. I Do, We Do, You Do Template
This option follows a gradual release format:
→I Do: The teacher models the skill.
→We Do: The teacher and students practice together.
→You Do: Students practice independently.
View the I Do, We Do, You Do Template.
3. Simple Weekly Planning Page
If you prefer less detailed planning, use the weekly page to jot down the materials you need and a few quick instructional notes for each day.
How should I set up my lesson planning pages?
You have two easy options.
Option 1: Make copies as you go.
Keep one original copy of each lesson planning page in your binder. Each week, copy the pages you need and add them to the section.
Option 2: Prep the year ahead of time.
Make enough copies for the year, hole punch them, and organize them by week or month.
Ta-da! Your small group lesson plan book is ready to go.
Binder Tip: You do not have to use the same lesson planning template for every group. Choose the format that works best for the lesson, skill, or students you are teaching.
Section 4: Anecdotal Notes
Small groups should remain flexible throughout the year. The Anecdotal Notes section helps you capture the little observations that tell you when students are ready to move on—or when they need more practice.
Use this section to record things like:
- Skills a student has mastered
- Skills that still need practice
- Errors or misconceptions you notice
- Students who may need to move to a different group
- Ideas for your next lesson
Download this small group notes template.
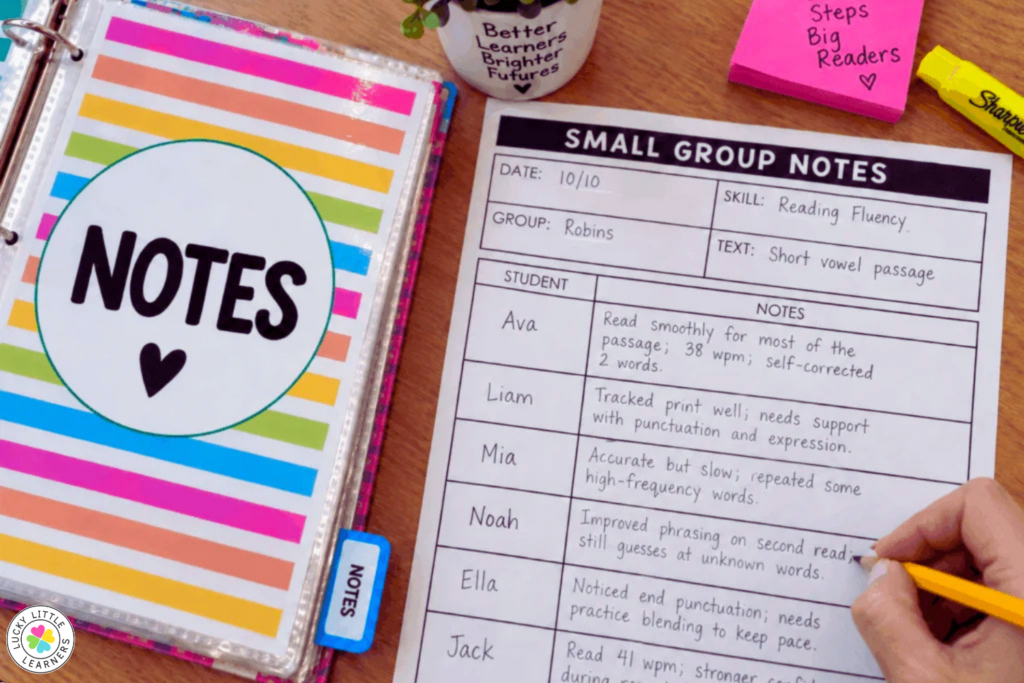
How should I set up the Anecdotal Notes section?
Keep your small group planning or notes sheet where you can easily access it while teaching.
You can list student names, group members, and the skill each group is currently working on.
Binder Tip: Slide a small group planning sheet into a page protector and use a dry erase marker to write student names. When groups change, simply erase the names and reorganize them.
Bonus Tip: Write student names on small sticky tabs and move them between groups. You can also jot down the skill a student mastered or struggled with during the lesson before moving the tab.
This makes flexible grouping much easier to manage.
Section 5: Teacher Resources
The final section is your Teacher Resources section.
This is where you keep the instructional tools you use again and again during small groups.
Helpful resources to include are:
- Skill progression checklists
- Graphic organizers
- Strategy cards
- Question stems and prompts
- Bookmarks
- Word and sentence lists
- Sound boxes
- Decoding tools
- Word-building materials
- Heart word resources
- Fluency resources
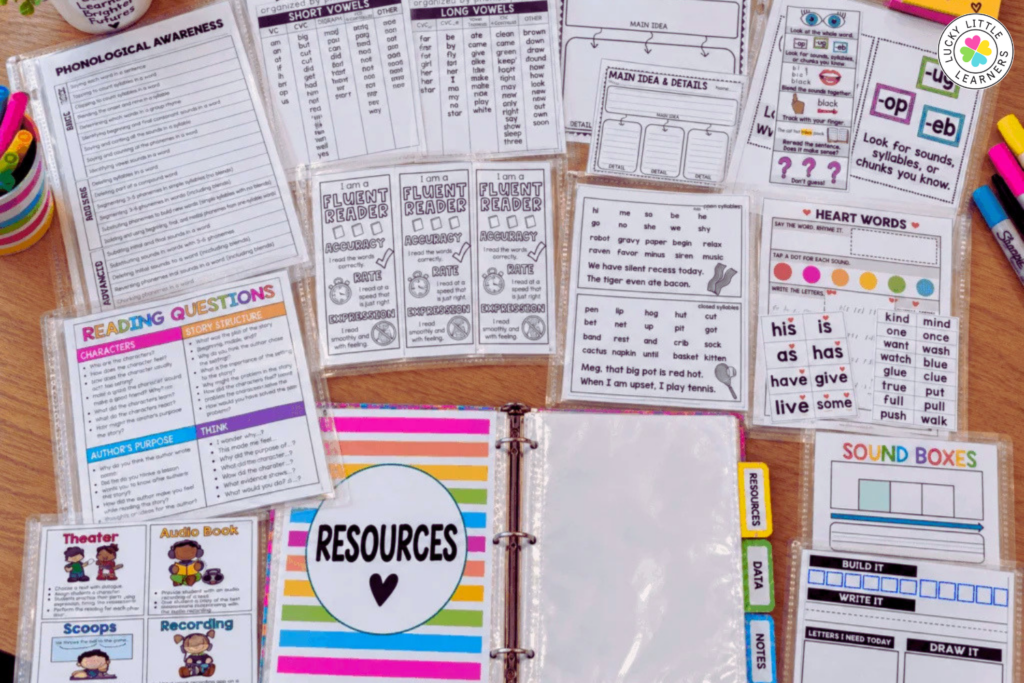
The Small Group & Intervention Literacy Kit includes resources for comprehension, fluency, phonemic awareness, phonics, sight words, and writing.
How should I organize the Teacher Resources section?
Use smaller tabs or sticky-note tabs to divide this section by instructional area:
✅ Comprehension
Keep frequently used graphic organizers, comprehension bookmarks, question cards, vocabulary routines, or discussion tools here.
✅ Fluency
Add fluency strategy cards, bookmarks, and reading passages.
✅ Phonemic Awareness
Store sound boxes, phonemic awareness activities, and other tools you frequently pull during instruction.
✅ Phonics
Keep decoding strategy cards, phonics word and sentence lists, word-building materials, and other phonics tools together.
✅ Sight Words
Store Heart Word mats and cards, sight word flashcards, and practice mats here.
✅ Writing
Keep sentence-building activities, writing prompts, and graphic organizers in this section.
Binder Tip: Put a sticky-note tab on the first page of each resource category so you can quickly flip to the skill you need.
Bonus Tip: Keep one master copy of your favorite resources in the binder. When you need an activity, you can quickly pull the original and make copies without searching through your computer or files.
What about hands-on small group activities?
Not everything needs to fit inside the binder.
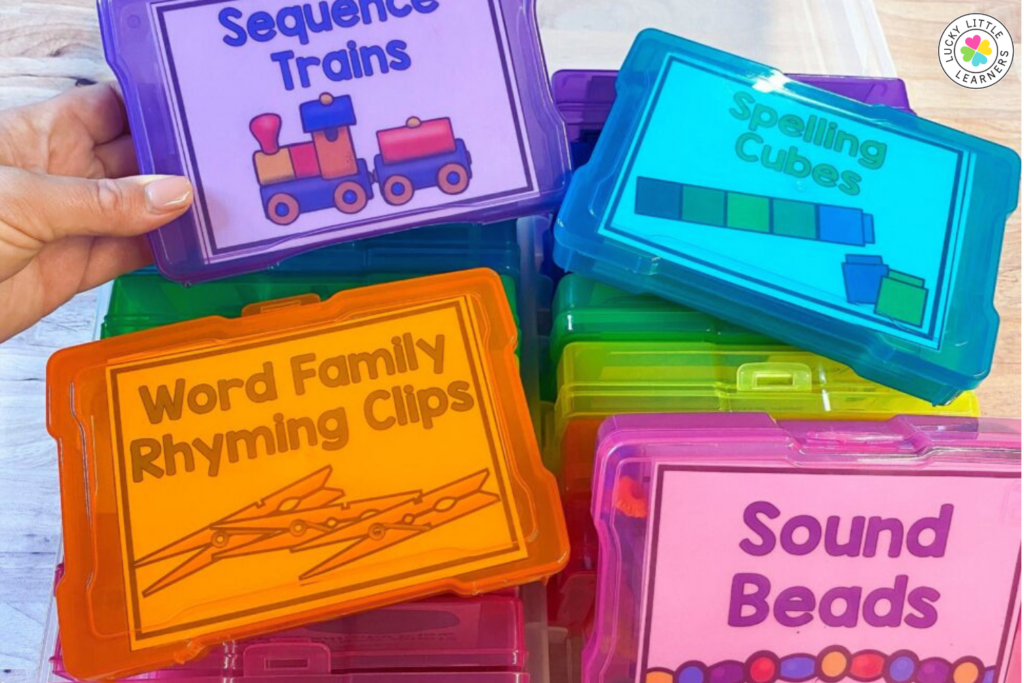
Hands-on activities and intervention materials can be prepped separately and stored near your small group area.
Storage options include:
- Colorful plastic photo boxes
- Gallon-size zip-top bags
- Pencil boxes
- An over-the-door shoe organizer
Choose a storage system that makes it easy to grab an activity, teach the lesson, and put everything back when your group is finished.
Your Small Group Binder at a Glance
Once your binder is assembled, you’ll have one home for:
Data → What do my students need?
Calendar → When am I going to teach it?
Lesson Plans → How am I going to teach it?
Anecdotal Notes → How did students do?
Teacher Resources → What tools do I need?
A little organization up front can make planning small group reading lessons much faster throughout the year, and make it easier to adjust instruction when your students’ needs change.
Get the Small Group & Intervention Literacy Kit
All Access member? Download here.
