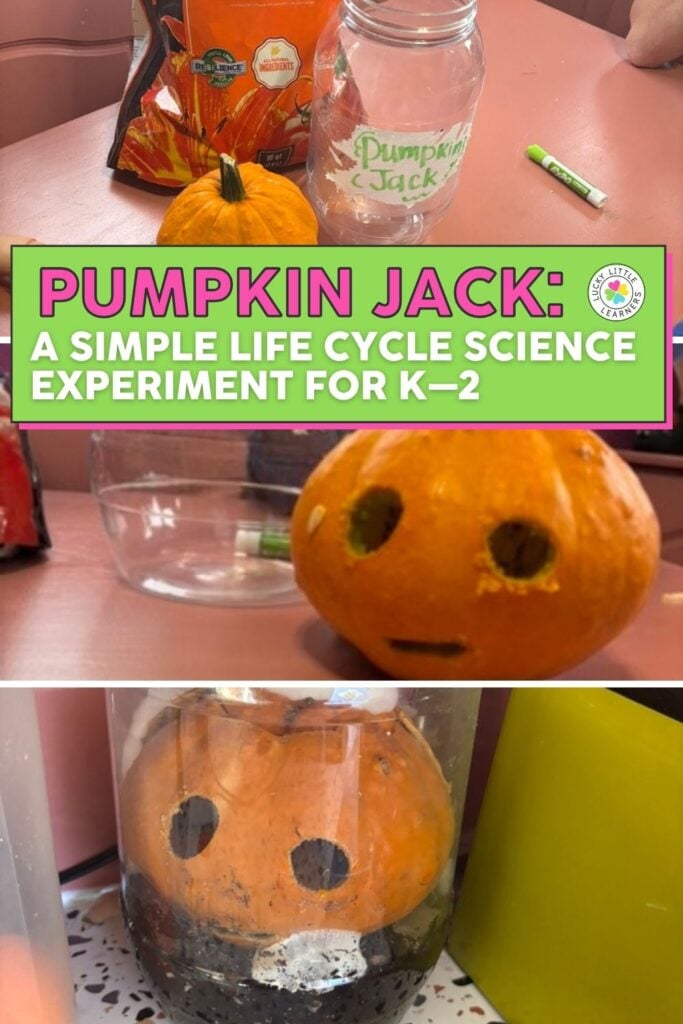
Looking for a purposeful way to use your classroom pumpkin after Halloween? Try a Pumpkin Life Cycle in a Jar—inspired by Pumpkin Jack by Will Hubbell. This easy, low-prep science experiment invites students to observe decomposition and plant growth firsthand over several weeks. It’s messy, fascinating, and full of learning potential.
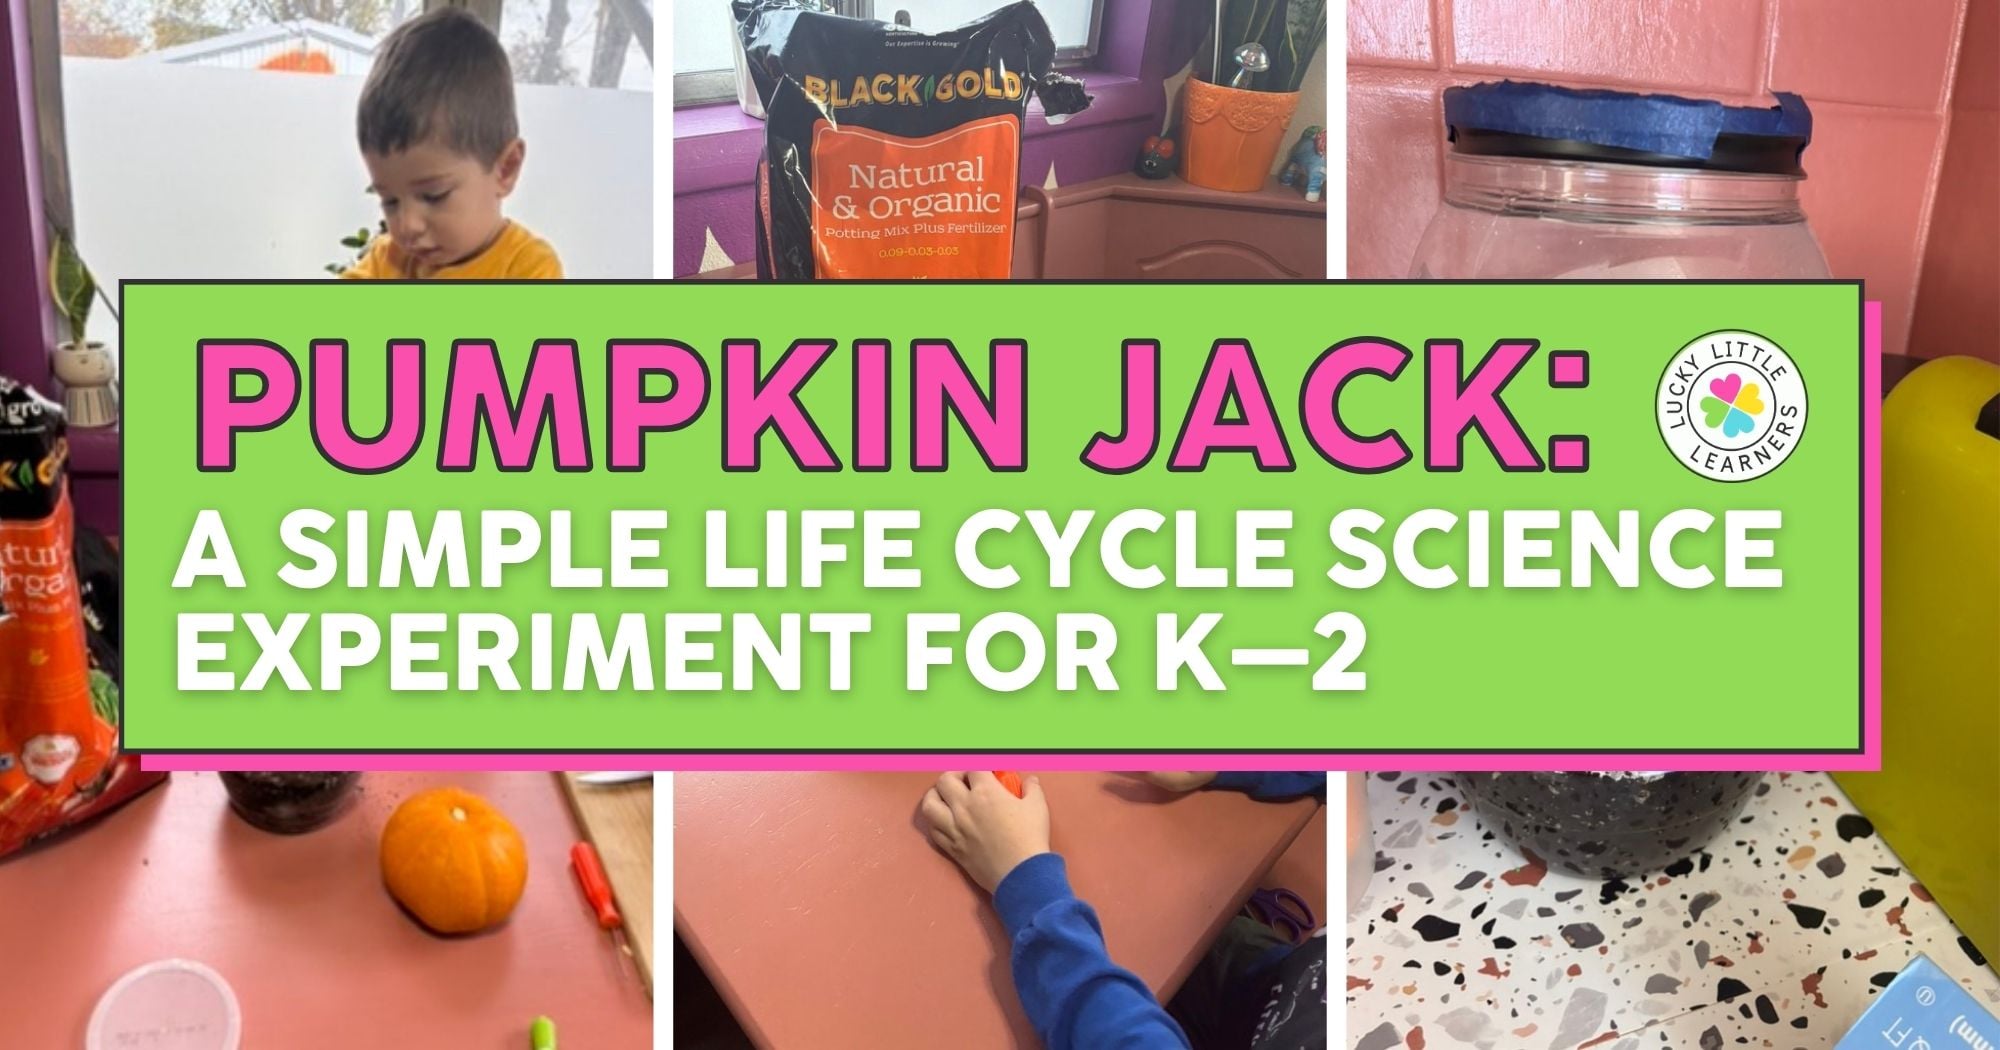
How to Set Up Your “Pumpkin Jack” Experiment
This experiment is simple enough to prep in under 15 minutes, and it offers weeks of observational learning. Here’s how to get started:
You’ll need:
- 1 small pie pumpkin (carved or uncarved)
- A large clear plastic or glass jar with a lid (cheese ball jars work great!)
- Potting soil
- Spray bottle with water
Step-by-step:
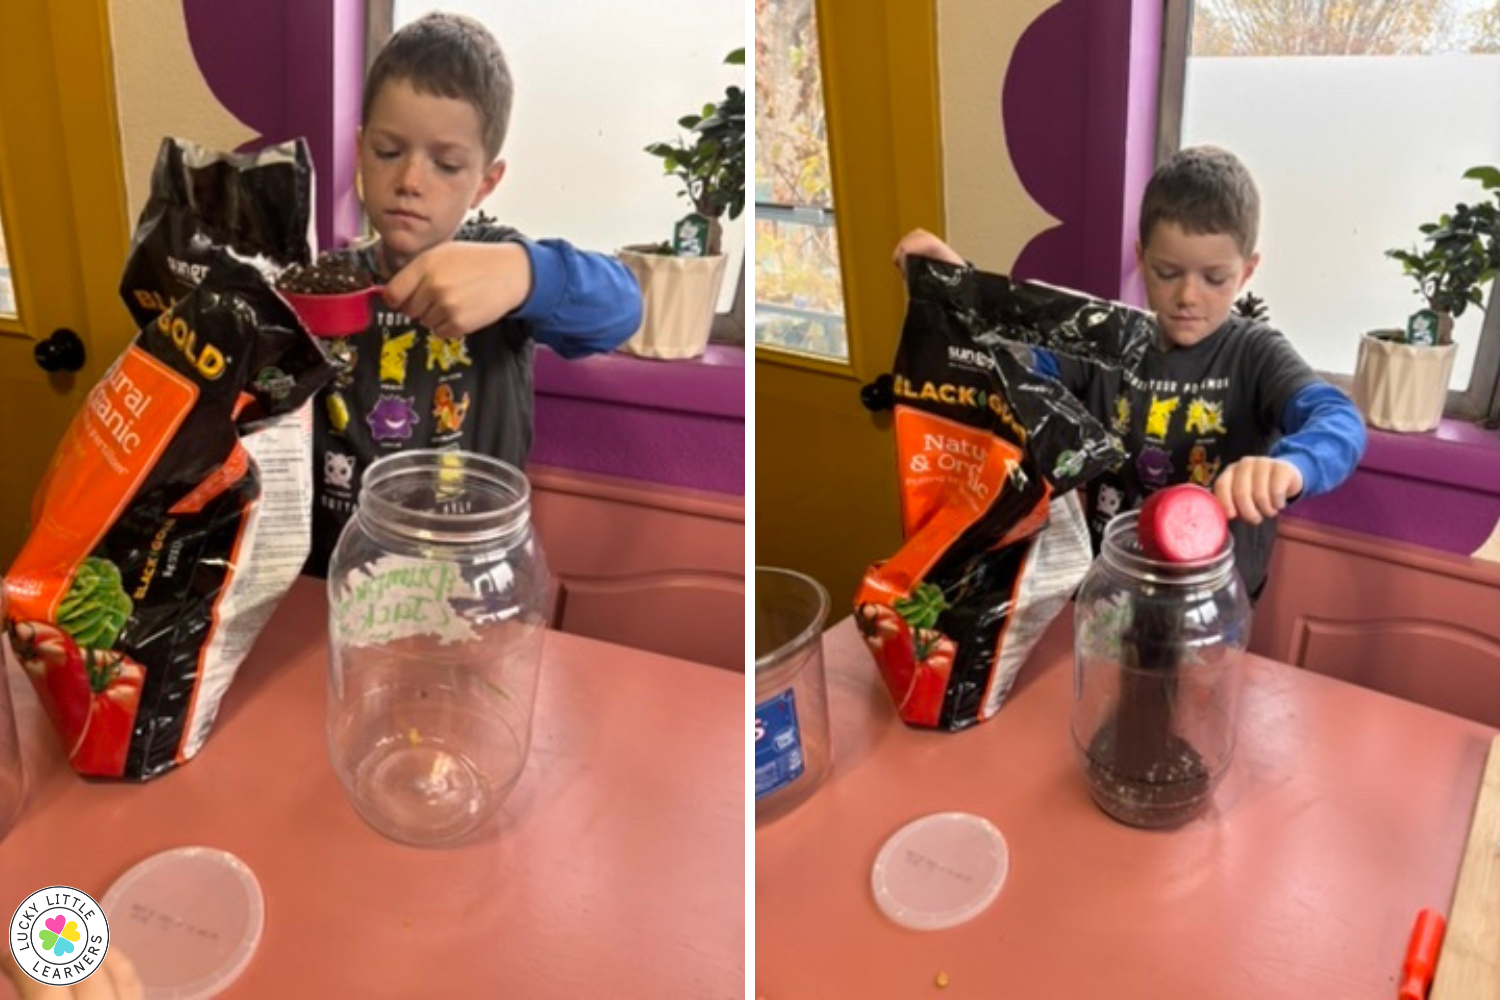
Step 1: Add a few inches of potting soil to the bottom of the jar. Lightly spray the soil so it’s damp but not soaked.
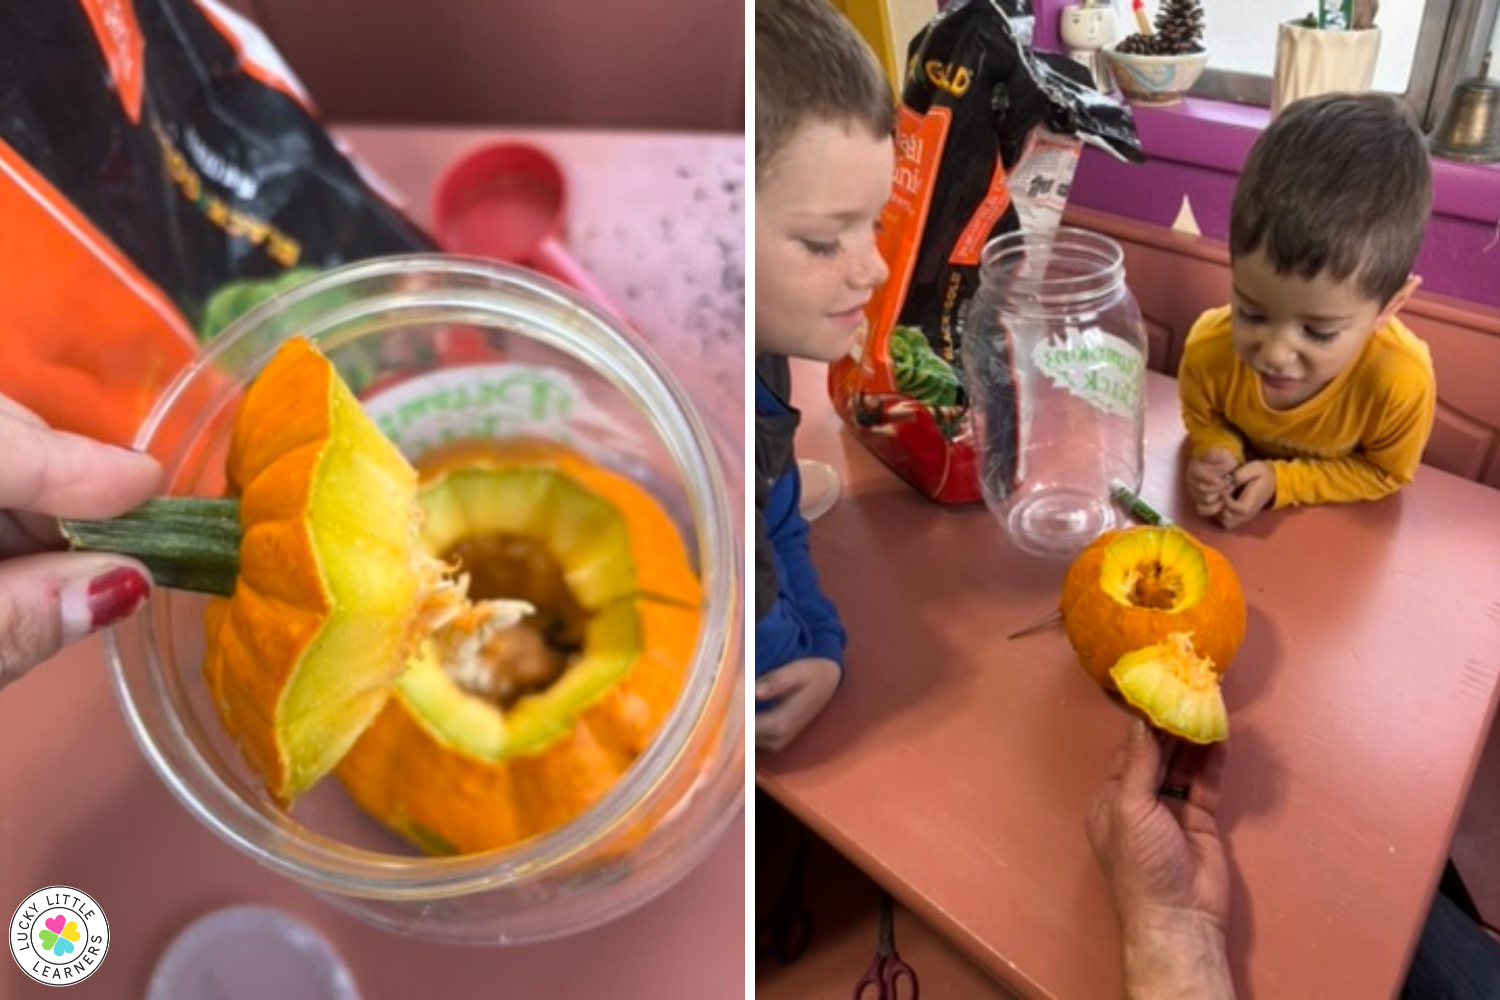
Step 2: Cut open the pumpkin and scoop out the seeds and pulp. Place the pumpkin pieces, seeds, and flesh directly on the soil inside the jar.
Step 3: Seal the lid and place the jar in a warm, sunny spot in the classroom. Remind students not to open the jar—this helps the decomposition process.
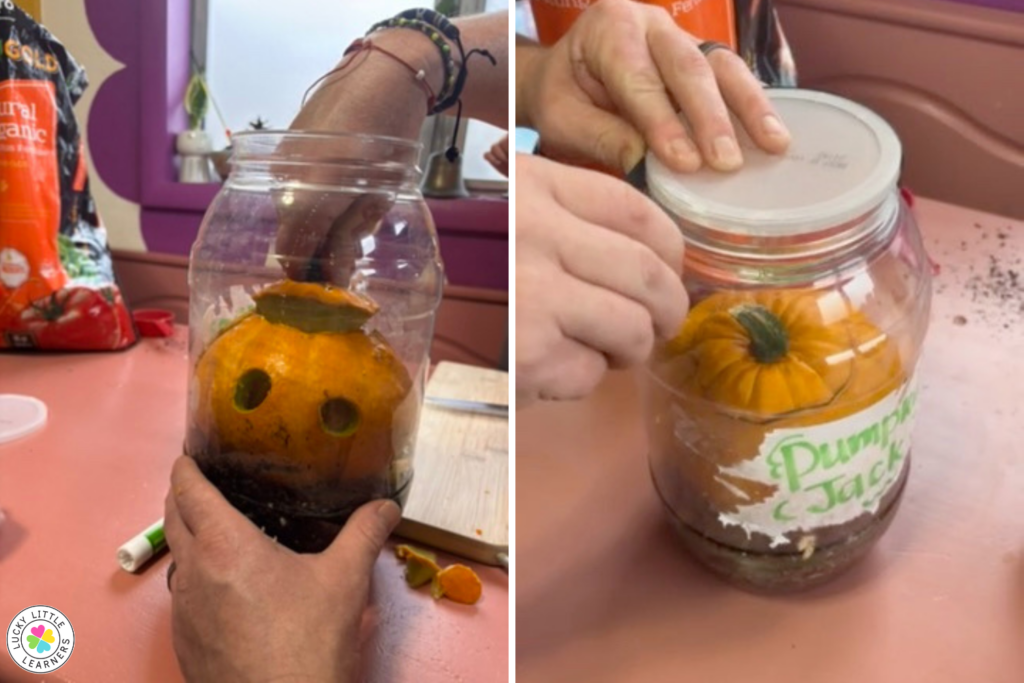
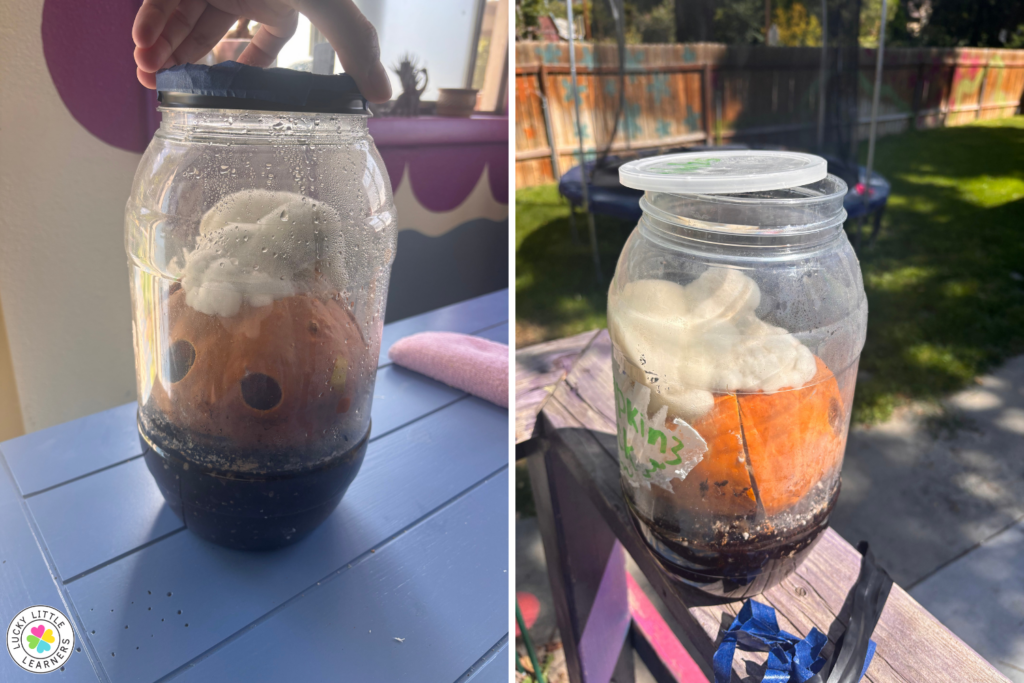
Step 4: Over the next few weeks, observe how the pumpkin breaks down. Eventually, with a little luck and patience, you may even see new sprouts growing from the original seeds!
Tips for a Smooth Experience
- Use a clear plastic jar for safety and better student visibility.
- Label the jar with the date so students can track how long the process takes.
- Photograph weekly changes and create a class timeline or science journal.
- Add a few spoons of compost to speed up decomposition.
- If mold becomes excessive, move the jar to a less-used area but continue observing from a distance.
Take this Project Across Content Areas!
Extend the impact of your Pumpkin Life Cycle experiment by weaving it into other subjects. Here’s how you can make meaningful cross-curricular connections that reinforce literacy, math, and science skills—all while keeping students engaged.
Reading & Writing
1. Read Aloud: Connect to Pumpkin Jack
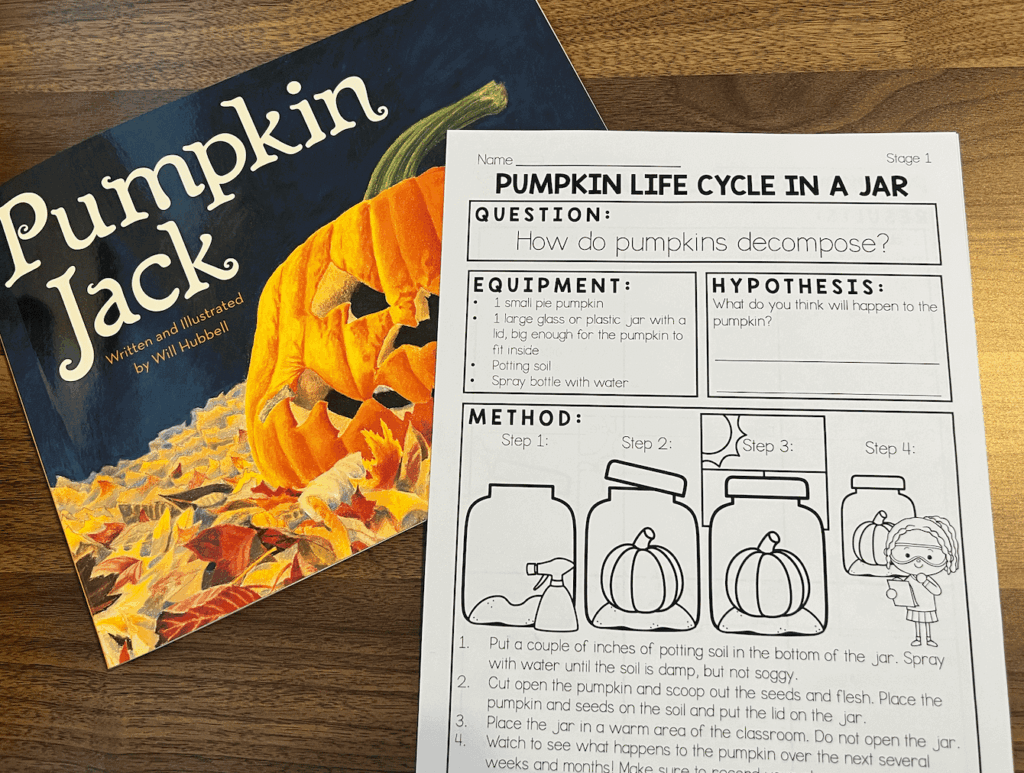
Reading Pumpkin Jack aloud before starting the experiment adds meaning and context for your students. Try asking:
- Before reading: What do you think happens to a pumpkin after we throw it away?
- During reading: How does Tim feel when he sees changes in his pumpkin?
- After reading: What surprised you about how the pumpkin changed?
- Connecting to the experiment: What do you predict will happen to our pumpkin in the jar?
Encourage students to share predictions, observations, and reflections throughout the experiment. Journaling or drawing responses can be a great extension, especially for early writers.
Looking for another seasonal read-aloud to pair with your fall lessons? Check out these 13 Halloween read alouds and classroom activities for more ideas your students will love.
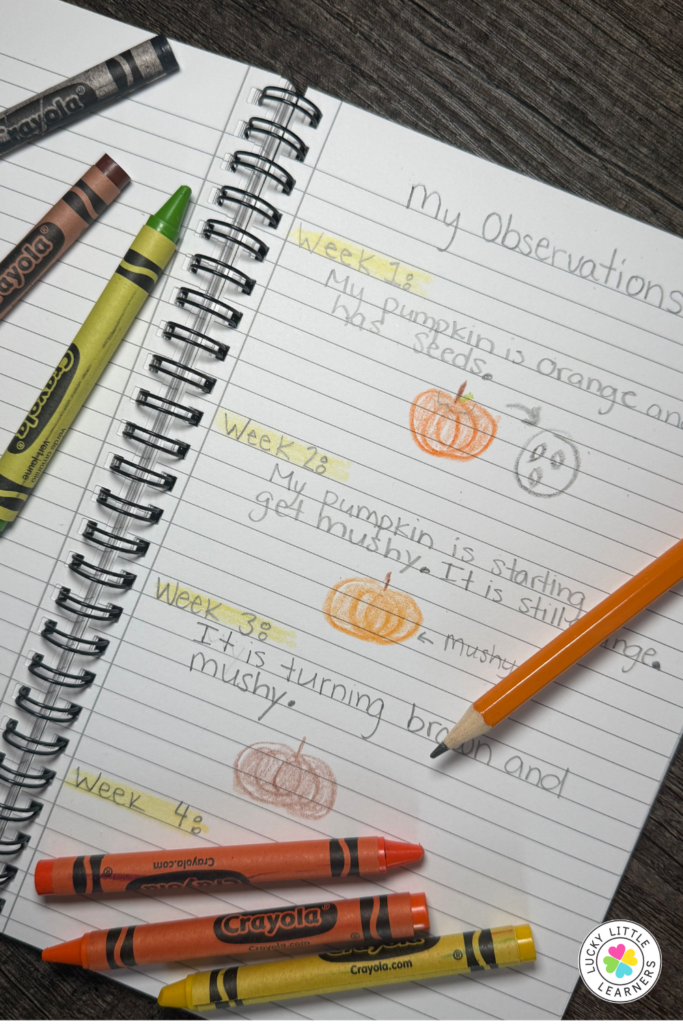
2. Pumpkin Observation (Mini) Journal
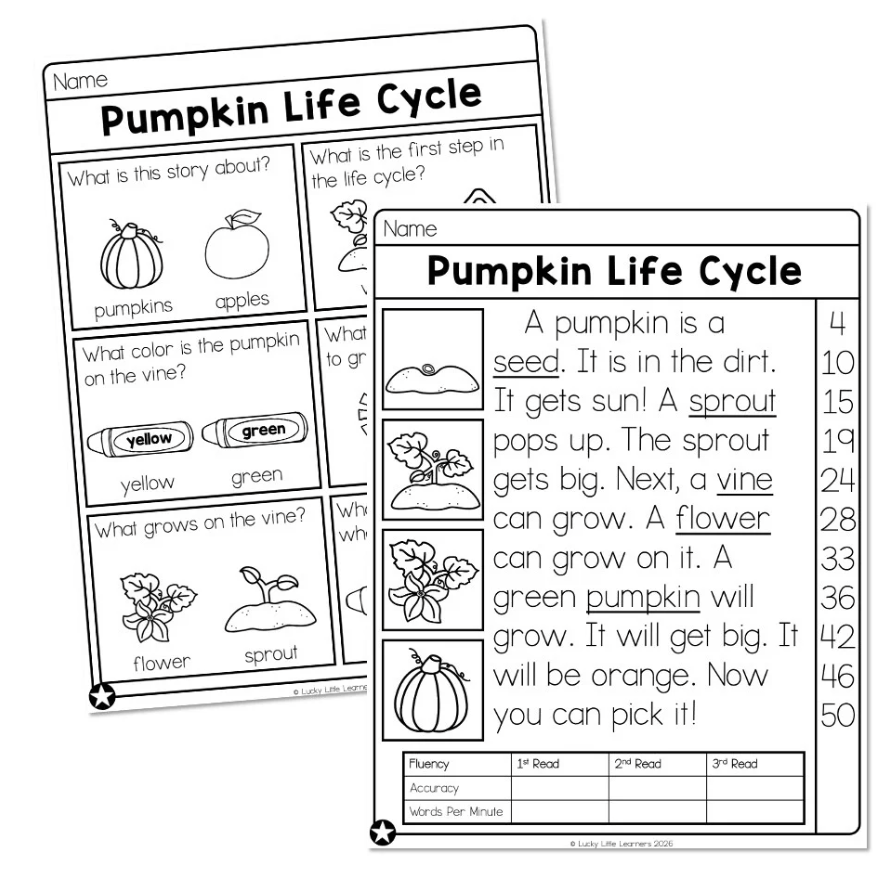
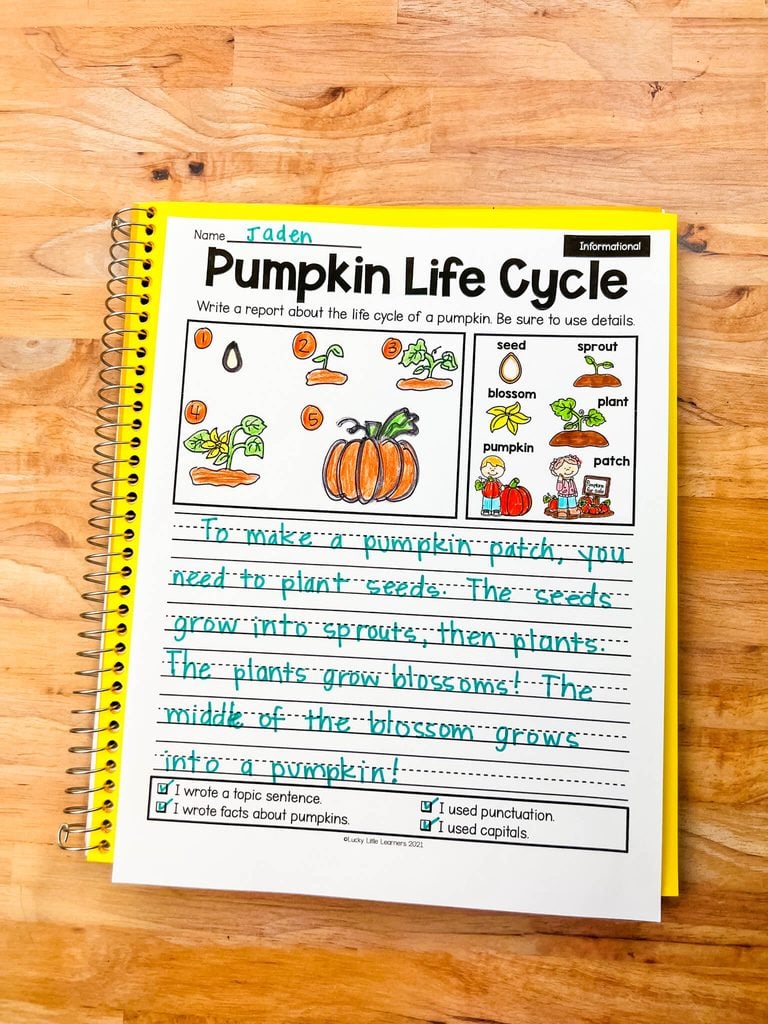
Create a mini-booklet where students draw or write short weekly observations. This supports literacy integration without needing a full journal each day. When the experiment is complete, reinforce all that students learned with a life cycle report using the template below.
Science: Life Cycles, Decomposition, and Plant Growth
This experiment supports key NGSS-aligned science standards in K–2. Here are a few ways to connect it to your curriculum:
| Kindergarten | K-LS1-1: Use observations to describe patterns of what plants and animals need to survive. | Observe and talk about the environment inside the jar. |
| Grade 1 | 1-LS3-1: Make observations to construct an evidence-based account that young plants are like, but not exactly like, their parents. | Discuss how the pumpkin seeds might grow into pumpkins that resemble the original. |
| Grade 2 | 2-LS2-1: Plan and conduct an investigation to determine if plants need sunlight and water to grow. | Explore how light, warmth, and water impact the sprouting process. |
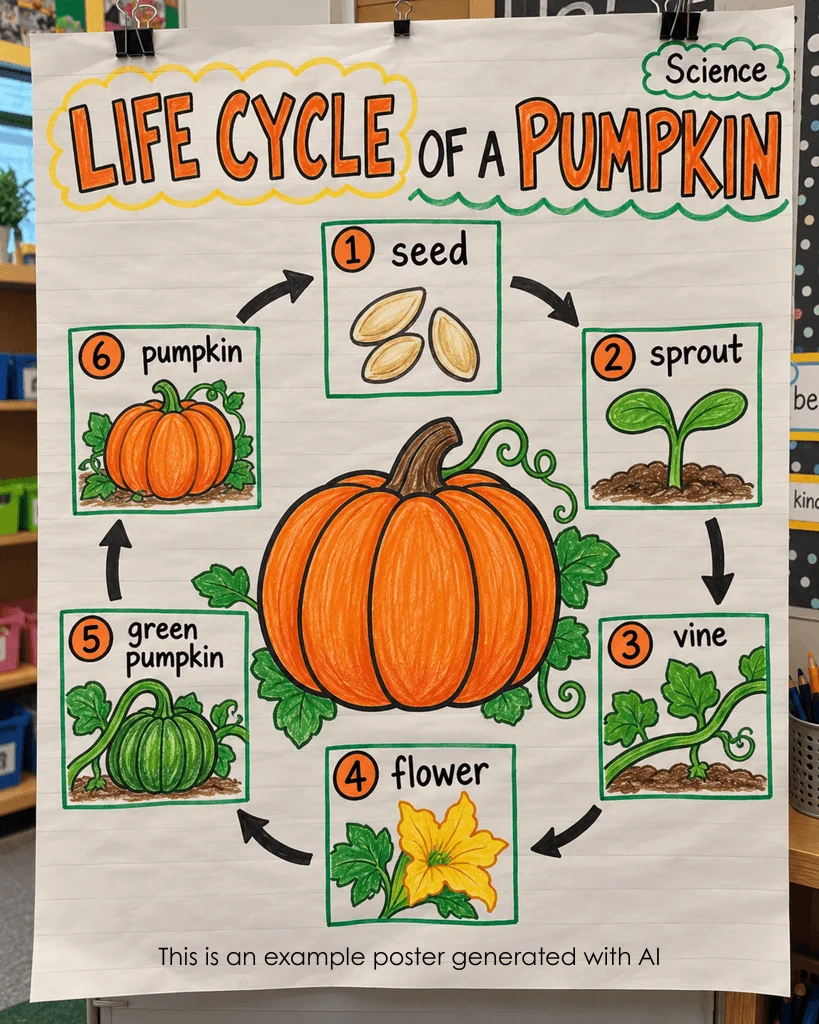
1. Pumpkin Life Cycle Wheel
Make a “Pumpkin Life Cycle Wheel” to reinforce vocabulary like seed, sprout, plant, flower, and fruit.
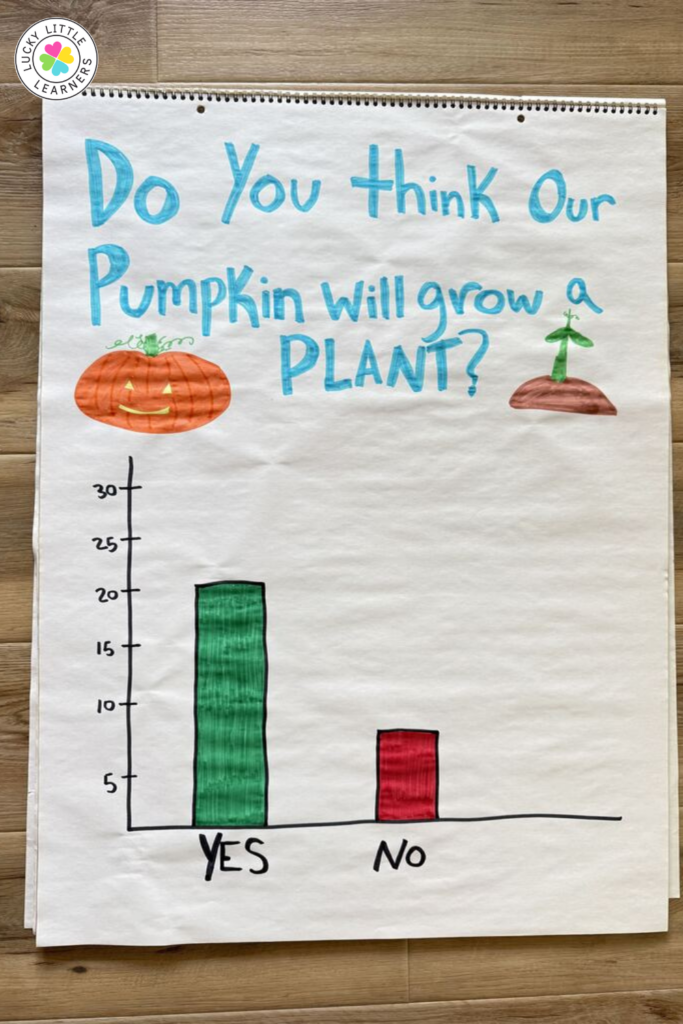
2. Class Graph: Pumpkin Predictions
Create a class anchor chart or bar graph with students’ answers to a prediction question like: “Do you think our pumpkin will grow a new plant?” Revisit the graph after several weeks to reflect on the results.
Math
1. Pumpkin Seed Counting & Estimation
Before placing seeds in the jar, have students estimate how many there are, then count and record the number. Use it to create simple bar graphs or addition/subtraction practice. This gives a natural math tie-in to your science work.
2. Pumpkin Measurement Tracking
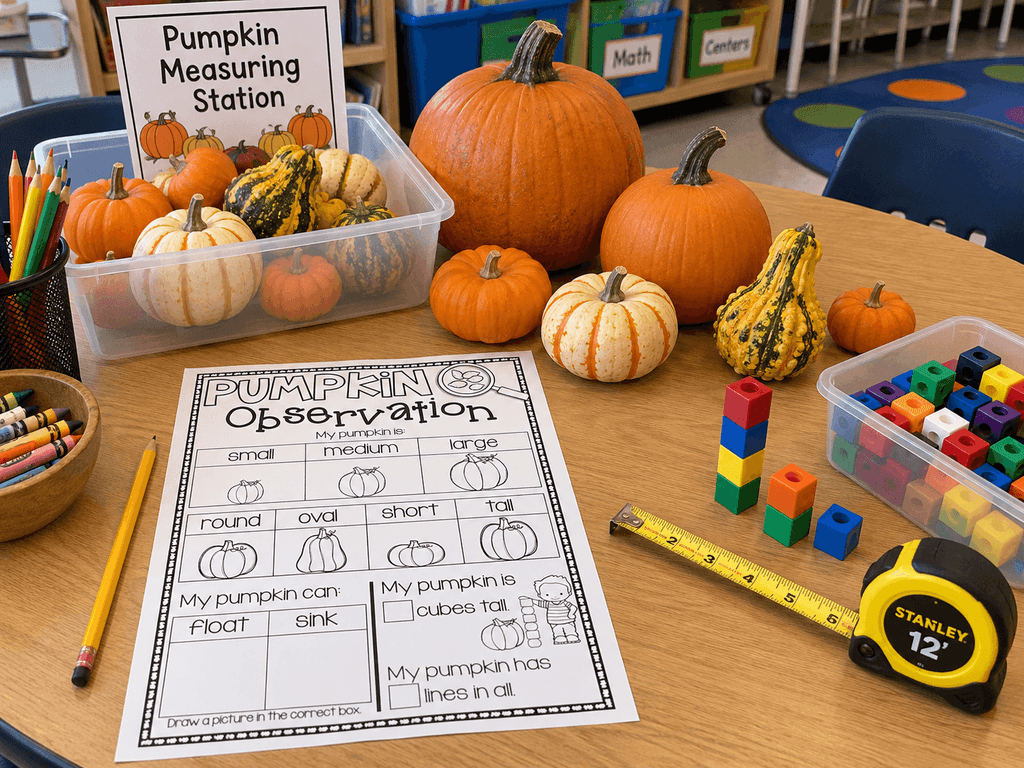
Before placing the pumpkin in the jar, have students measure and record its height, width, and weight using nonstandard units (like cubes or paperclips) or standard units (like inches or grams) depending on grade level.
Then, have students re-measure the pumpkin at weekly intervals (visually through the jar if they can’t open it) and estimate how much it has shrunk or changed. You can even graph the changes in size over time and compare them. This builds skills in measurement, comparison, and data tracking.
Get the Pumpkin Jack Resources for $1
Want the printables to make this experiment even easier to use in your classroom? Try Lucky Little Learners All Access for just $1 for one week. You’ll get instant access to our complete membership library—everything we’ve ever created for K–3—and can choose your favorite 100 resources to download during your trial.