

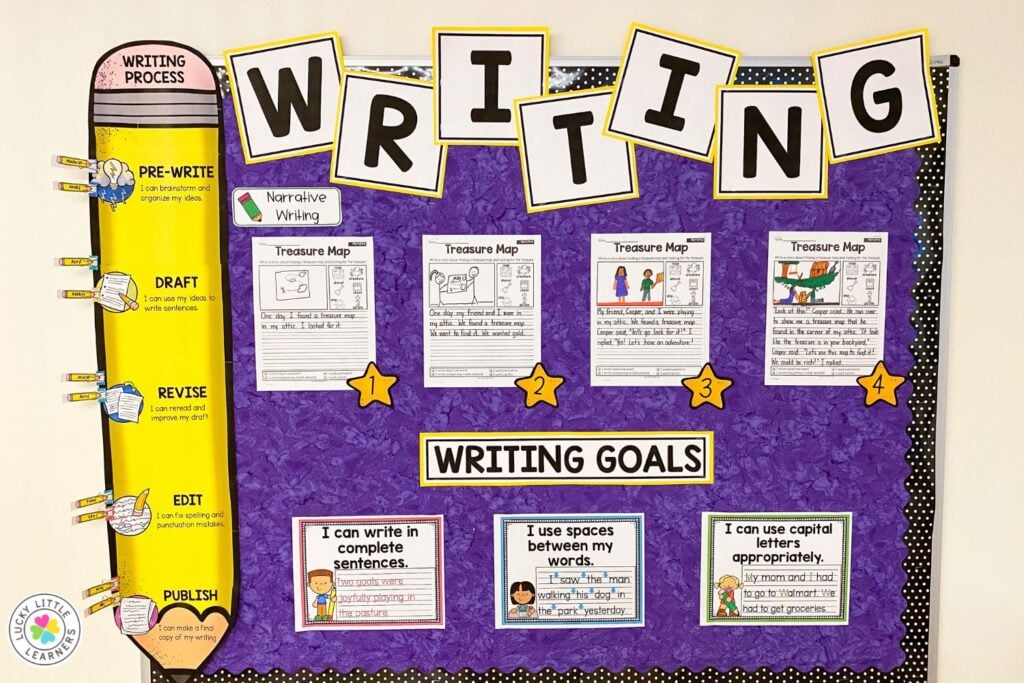
Have you ever wondered how teachers are making these beautiful bulletin board letters? This post outlines a step by step set of directions to create large bulletin board letters that stand out and look amazing!
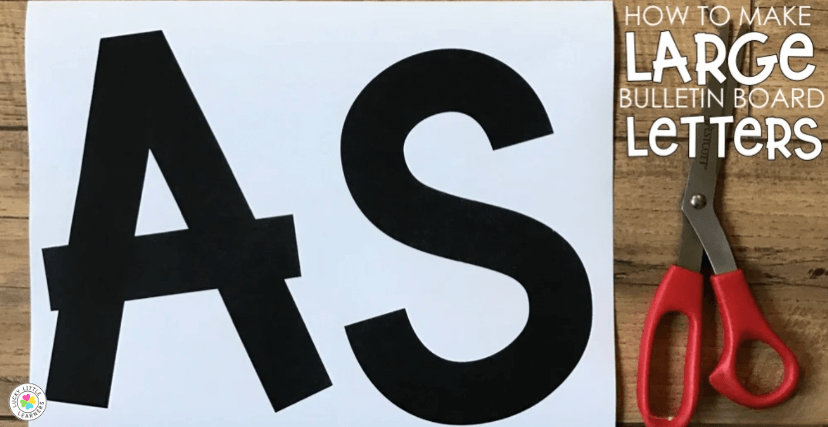
Step 1: Gather Your Supplies and Print
To create the large bulletin board letters you will need:
- computer
- printer
- scissors
- paper
- glue
- laminator
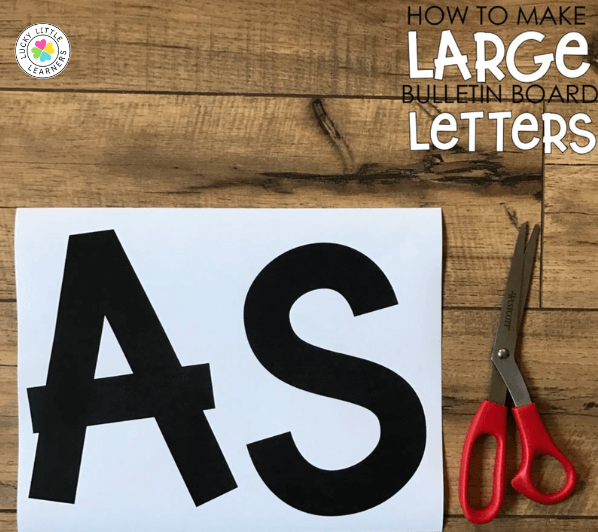
Choose a font that you like. There are quite a few fonts that can be found online and used for free for personal use. Some of my favorites are:
Once a font is chosen, install it to the computer. Then type the text the bulletin board needs. Depending on the size of the heading, you will want to play with the size of the font. I typically use a size 400 font but it all depends on the space and size that I need the letters to be.
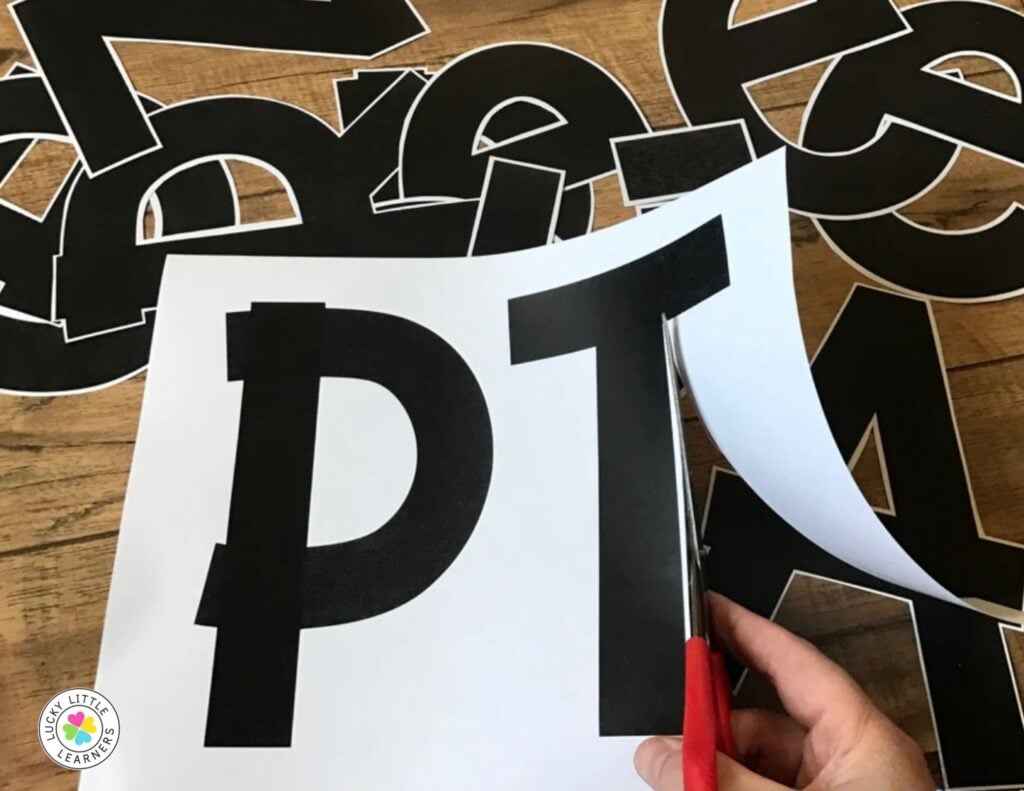
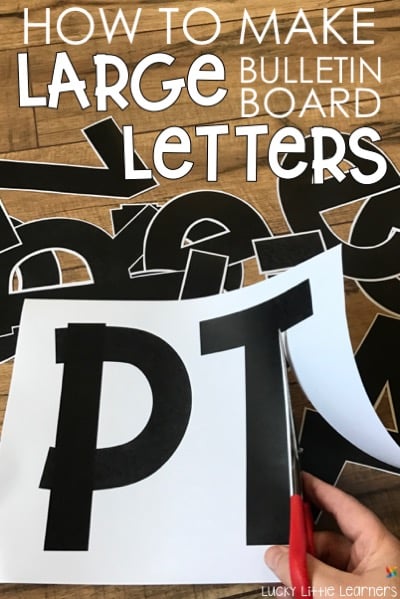
Step 2: Cut Out Your Letters
Once your letters are printed out, you will need to cut them out. I like to leave a small white border around my letters. I use a razor blade to cut out the inside of letters like a, e, b, o, etc…
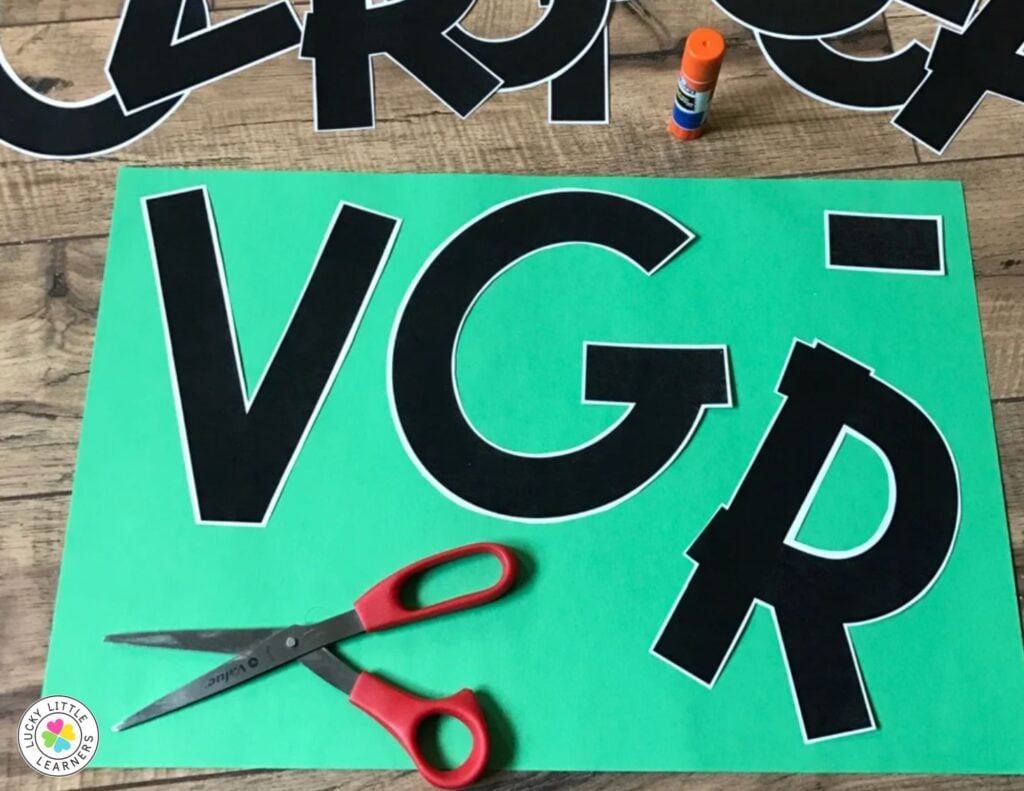
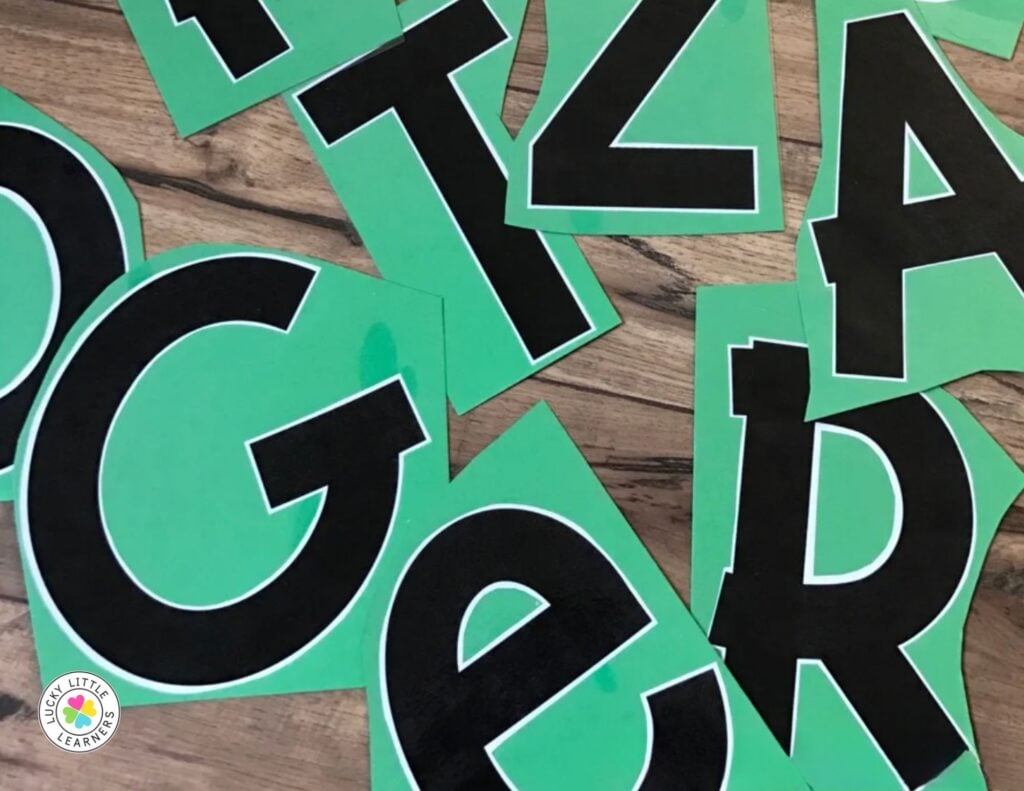
Step 3: Back Your Letters
This, of course, is optional but I like to back my letters with a color because it makes them more durable and I like the way it looks. I use a glue stick or rubber cement to adhere the letters to the construction paper or Astrobright paper.
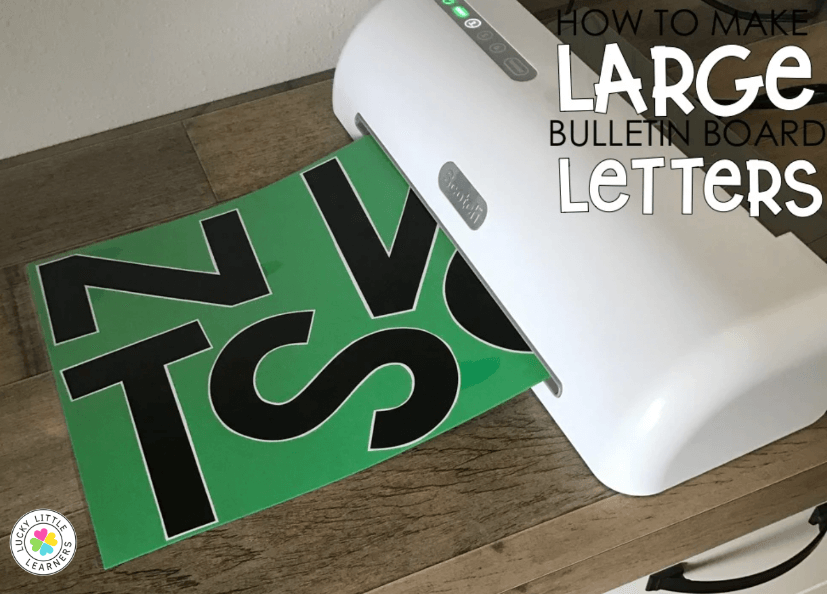
Step 4: Laminate
Yes, laminate next. Yes, before cutting. Now, I say this and I have done this with a home laminator and a school laminator. Our school laminator is nothing great and the laminating film is super cheap. No, I haven’t had peeling but I’ve heard of teachers who have so if you’re not comfortable with laminating before cutting, flip step 4 and 5 around. The laminator found below is my all-time favorite laminator. It is a 12 inch laminator and I LOVE IT! I can fit 12×18 construction paper through it as well as file folders! (affiliate link) Click here to grab the 12 inch laminator that I use!
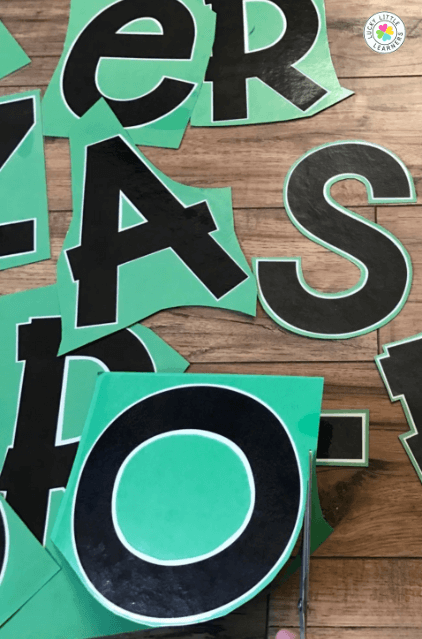
Step 5: Cut out Sections
This is just personal preference but I cut out each letter in sections. It’s easier for me to cut around all the corners to correctly create each letter.
Step 6: Cut a Border
Once the sections are cut out, simply cut out each letter leaving a small colored border. That’s it!
Low Prep Bulletin Board Sets
If you really want to hit the easy button, I have several bulletin board sets ready to print, cut, and assemble! Here are a couple of fun options:

[divi_library_layout id=”3760948″]
[divi_library_layout id=”3760954″]
If you are looking for more bulletin board inspiration, my favorite ways to decorate my boards for back to school themes are listed here. And here are some tips for creating eye-catching bulletin board displays. Happy Teaching!
24 Responses
Thanks so much! This was such a simple tutorial….even I can do THIS! 🙂
What font is that one?
Do you use MS words or PowerPoint?
Hi Alisia! We would love to help you with this question, please email us at customerservice@luckylittlelearners.com and we will do our best to answer it for you! Thanks so much!
Bailey J.
Lucky Little Learners
I love using this bulletin board letters in my classroom too. Thanks for sharing Angie! I know this is a perfect tutorial for teachers.
Thanks for the info! How do I get the new fonts that I downloaded to show up in Google Slides?
Hi! We would love to help you with this question, please email us at customerservice@luckylittlelearners.com and we will do our best to answer it for you! Thanks so much!
Bailey J.
Lucky Little Learners
What is the name of the font that is shown in the pictures?
The fonts are KG blank space solid and NTF jumpin jack. Thank you for your message.
Thank you so much for this post.
I like that you provided some tips for making large bulletin board letters. the materials you provided such as scissors, paper, and glue are very common things that you can easily purchase at your local grocery or hardware store. I also appreciate the illustrations you provided that serve as a guide or additional reference. I only wish I had the time to do these on my own. I’ll probably shop around for a letter board that already comes with ready-made letters which should definitely save me a lot of time. Thanks for sharing this, though.
Thanks for the wonderful article
Thank you for the tutorial!💕
Miss Angie!!!!!
Oh my goodness…you rock!!! I am a Sunday school teacher and our kids love their bulletin boards. They keep me on my toes to change things up. Your tutorial is awesome!!!!
Thank you so very much!
Thank you for the tutorial. You make it look easy!
This is great!
Love the easy manner you explain how to do this. The store bought letters look pretty much all the same and after 33 years of teaching it is so refreshing to see new fonts and colors one would choose for oneself. Thank you for sharing! You rock!
Thank you so much! Love this tutorial! Do you have a trick for white letters on a black bulletin board? I’m sure you invert the color, but not sure how to do it…
Hi! We would love to help you with this question, please email us at customerservice@luckylittlelearners.com and we will do our best to answer it for you! Thanks so much!
Bailey Jordan
Lucky Little Learners
Thank you so much! I love all the easy to use fonts! They are making it very easy to create bulletin boards at the high school!
this is so helpful! I am a first time ra so sometimes I like use these tips to make my floor boards look as good as possible, thanks!
Are you able to install these fonts to Google Docs?
Hello Lisa, Unfortunately, Google Docs doesn’t let you install custom fonts. You have to use a program like PowerPoint or Microsoft word or Adobe to be able to use installed fonts on your computer. I hope this helps!
Thanks, that was so helpful!