Easy science experiments help 1st and 2nd grade students explore scientific concepts through hands-on learning. These classroom-friendly science activities use simple materials to teach observation, prediction, problem-solving, and critical thinking in engaging ways.
Looking to stir up some excitement in your science lessons? Hands-on experiments are the way to go! But how can you plan easy experiments for your students, gather materials without spending a lot of money, and keep things organized and not chaotic? The answer is simple: choose an experiment that is already planned out for you. Check out the experiment ideas and resources below.

What You’ll Find in This Post
- Science experiments that support observation and critical thinking
- Easy science experiments for elementary classrooms
- Low-prep STEM activities for 1st and 2nd grade
- Hands-on science investigations using simple materials
Jump to a Section:
- Managing Science Experiments
- Seashell Experiment
- Ice Melting Experiment
- Water Cycle in a Bag
- Making Snow
- States of Matter
- Easily Fit Science into Your Schedule
How Can You Manage Science Experiments Without Classroom Chaos?
A lot of science experiment opportunities are lost due to the time, materials and classroom chaos managing that is required. Hands on activities do require a bit more management and preparation, but the learning that ensues is worth it, I promise!
Teach Experiment Routines & Procedures
Just like any other classroom activity, the routines and procedures for the science experiment need to be explicitly taught. Procedures to teach include:
- Following the experiment directions in order.
- Filling out experiment worksheets
- Monitor class volume and discuss the appropriate levels for the activity.
- Putting away materials & cleaning up work space
- Stick to your group role
Assign Roles
As mentioned in the above section, you should assign group (or partner) roles for students to stick to. This gives them a focus, keeps the group on task and squashes the arguments over who does what.

Use partner cards to assign roles in a snap.
Model it!
Before sending students off to complete their experiment, model how to gather their supplies. Safely hold or use them, and what each member of the group will be doing. Do not model the entire experiment, as this takes away the science magic!
What Is a Simple Science Experiment About Chemical Reactions?
Seashell Experiment
Let’s kick off our science experiment list with one that will make you think of long walks on the beach.
Why it works: This experiment helps students observe chemical reactions in a simple, hands-on way while encouraging prediction and observation skills.
Materials Needed:
- Vinegar
- Jars or cups
Directions:
- Place a few seashells in a jar.
- Fill the jar with vinegar.
- After a day or two, observe what happens to the shell.
- Replace the vinegar and observe for another day or two.

What Is an Easy Science Experiment About Melting and Temperature?
Ice Melting Experiment
We all know ice melts, but are there materials that melt it faster than others? Students will get excited watching this melting “race”.
Why it works: Comparing melting materials helps students practice scientific investigation skills while exploring temperature and states of matter.
Materials Needed:
- 4 cups or bowls
- 1/2 cup of 3 different materials like warm water, cold water, salt, sugar, sand, flour, etc
Directions:
- Put an ice cube in each cup.
- Pour 1/2 cup of a material on the first 3 cubes.
- Leave just the ice cube in the last cup.
- Check on the ice cubes every 5-10 minutes.

How Can You Teach the Water Cycle with a Simple Science Experiment?
Water Cycle in a Bag
Tell your students you can make it rain inside a Ziplock bag. They will be astounded! This science experiment is a great visual of the water cycle in action.
Why it works: Visual science experiments make abstract concepts like evaporation and condensation easier for young learners to understand.
Materials Needed:
- Sharpie markers
- Water
- Food coloring
Directions:
- Optional: have students draw a design on their baggie, such as clouds, raindrops or waves.
- Fill the bag 1/4 of the way with water.
- Add food coloring.
- Seal the bag.
- Hang in a sunny window & observe the water cycle!

Bonus tip: a hair dryer can speed up the process, just don’t hold it too close to the baggie!
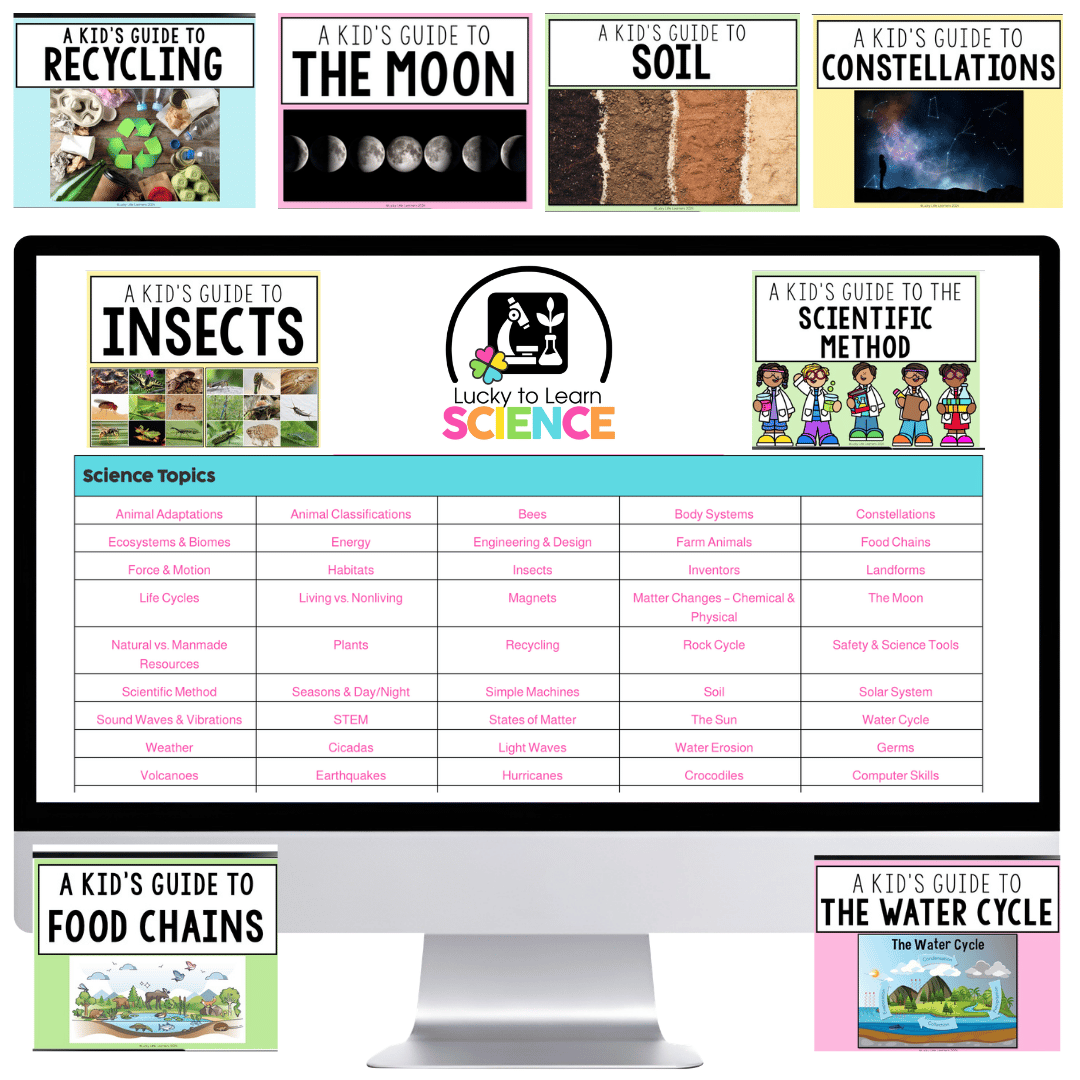
For more water cycle activities, check out our Lucky to Learn Science unit.
What Is a Fun Science Experiment About States of Matter? Making Snow
No matter the time of year, or where you live, you can bring a little snowy magic into your classroom.
Why it works: Sensory science activities increase engagement while helping students explore physical changes and states of matter.
Materials Needed:
- 3 tablespoons white hair conditioner
- bowl
- spoon
Directions:
1. Pour baking soda into a bowl.
2. Have students identify what state of matter the baking soda and conditioner are.
3. Predict what state of matter it will be when the two materials are mixed.
4. Stir the two together to make the snow. Identify the new state of matter.

What Is an Easy Experiment for Teaching States of Matter in 2nd Grade?
Many states list states of matter as a 2nd grade science standard. Why not use a science experiment that will last a few days and demonstrates all states of matter?
Why it works: Hands-on experiments help students better understand how solids, liquids, and gases change and behave in the real world.
Materials Needed:
- Ice cube
Directions:
- Discuss the states of matter using pictures of each state. Here is a ready to go unit.
- Start with the solid state: put an ice cube in a cup. Discuss which state of matter will occur when you leave the ice in the cup.
- Observe when the ice cube has melted. Then, discuss which state of matter will occur as you leave the water. (Evaporation-gas!)
- Observe how long it takes for the water to completely evaporate.

For more states of matter activities, check out our Lucky to Learn Science unit.
How Can You Fit Low-Prep Science Experiments into Your Daily Schedule?
Let Katie from Team Lucky Little Learners show how quickly and easily you can fit science experiments into your schedule. This video is a quick walk through three ideas.
Having trouble fitting science into your daily schedule? Check out our solution to teaching science in just 30 minutes a day!
Now it’s time for your little scientists to begin their experiments! Don’t forget to share pictures with us in our facebook groups for Kindergarten, 1st grade or 2nd grade teachers.
Happy teaching!

One Response
Interested to learn more.