Google Slides is my go-to for student activities in Google Classroom and Seesaw (and really, any other learning platform)! Of course, I have so many student-friendly activities available in PDF format, but to make them interactive for students, it’s a great idea to add them to Google Slides. Here are the steps for adding a PDF to Google Slides so students can add writing, shapes, text, and more!
Step 1: Find the Perfect PDF
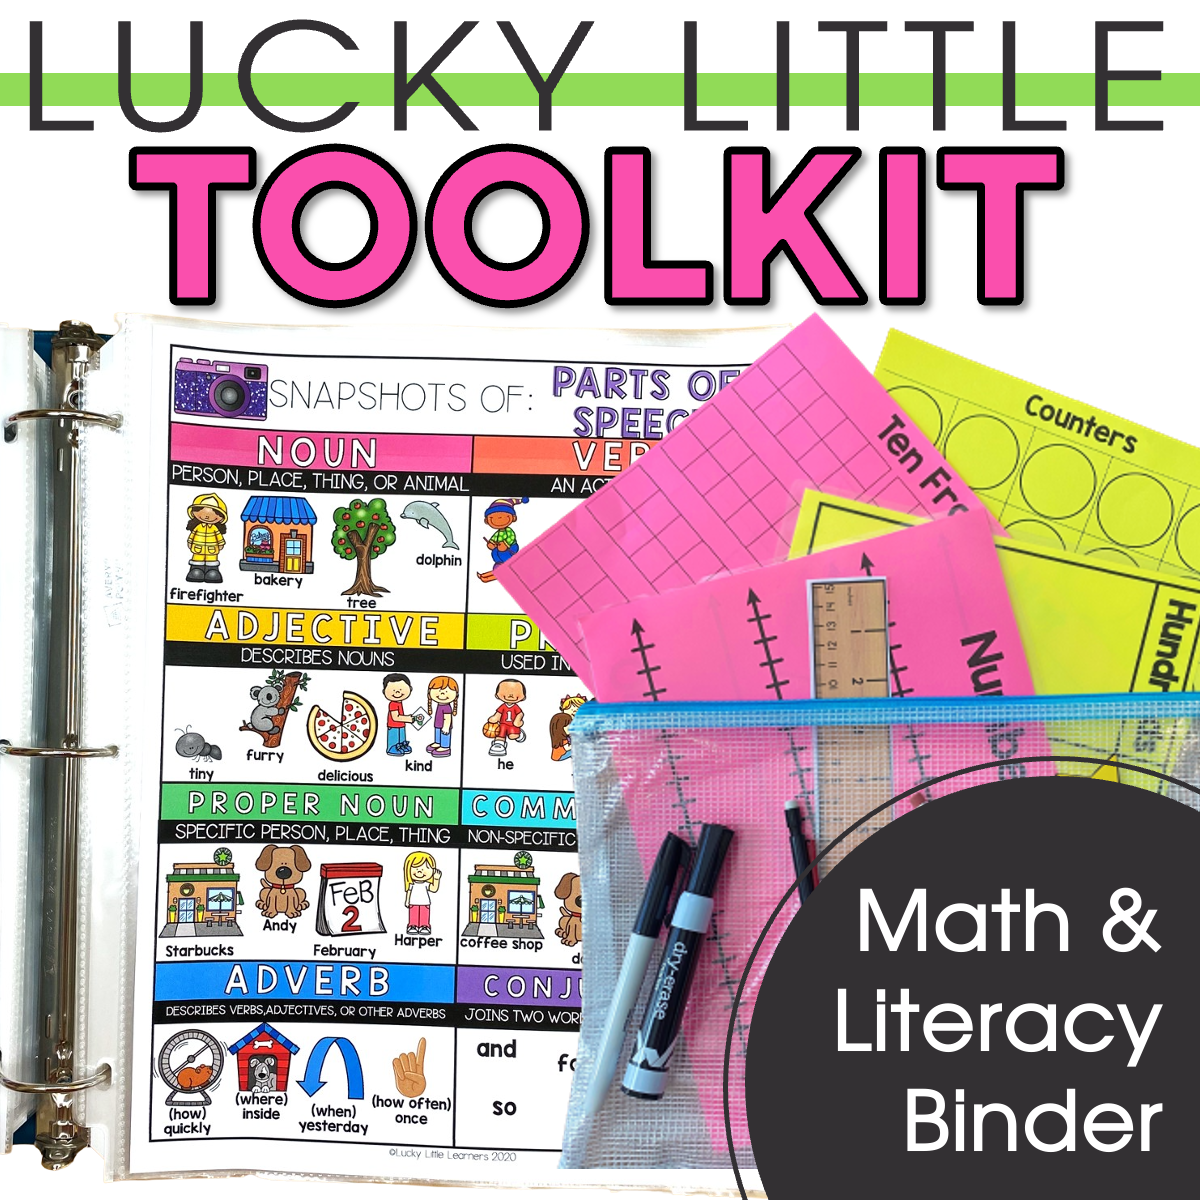
First, choose the PDF you want to add to Google Slides. One of my favorites is the addition strategies from the Lucky Little Learners Tool Kit. There are so many options in the Tool Kit alone! Try Math Exit Tickets or different Vocabulary Activities for your lucky little learners!
Step 2: Take the Screenshot
Next, Zoom out on the PDF so you can see everything in the PDF your screen. Then take a screenshot of the PDF exactly how you want it to appear on the Google Slide.
If you are on a Mac, you’ll hold down Command, Shift, and 4. On most PCs, you hold down Alt and the PrtScn key (Print Screen) on the computer. Some computers use the Windows key instead of the Alt button. See
Step 3: Add the PDF to Google Slides
Next, go to your Drive and press the New button and choose Google Slide. After you open a new Google Slide, name your presentation. Then, change the size of the page. Go to file and page setup. Click on custom and change the dimensions to 8.5 x 11 inches.
Get rid of the text boxes by changing the layout to “Blank” slide or simply deleting the text boxes. To import your image that you screenshot, click the background button. Next, click “choose image” then “browse” to find where your screenshot saved. It usually will save to the desktop, downloads, or photos. If you are unsure, you can always search “screenshot” to find recently saved screenshots. Find the screenshot, and push open. That will save your image to the background of the slide.
Your students will not be able to move any text or images on the screenshot PDF, but they can write over it and add shapes! You can also add additional elements and instructions by inserting shapes, images, and texts. Of course, you can also add audio to the Google Slide to make your assignment accessible to all learners!
Added Benefits of Adding a PDF to Google Slides
Adding a PDF to Google Slides has so many benefits! First, you can add additional elements to the PDF like your own voice or instructions. My students love it when I add in my Bitmoji! Of course, this means your students can also add in their own elements as well. This makes it easy to share photos to add to their reading journals or other activities in the Lucky Little Toolkit.
Look through your Google Drive or in ALL ACCESS store to find the perfect PDF to add to Google Slides. What activities will you share with your lucky little learners?
Get this on All Access

Join All Access to download everything we've ever made.
You can save this idea to your Pinterest board by using the image below.


0 Comments